Ombre Henna Brows: The Best Techniques

There's nothing like a pair of flawless henna brows. With an ombre effect, for the best result. How do you get it done?
We'll show you our two tried and tested techniques.
It's then up to you to find out what you like best.
Ombre means shadow in French. The ombre effect means nothing more than applying the henna dye or regular dye from light to dark. A nice colour build-up from almost nothing to increasingly darker. But the ombre effect is also often used when applying pomade or permanent make-up.
Natural effect
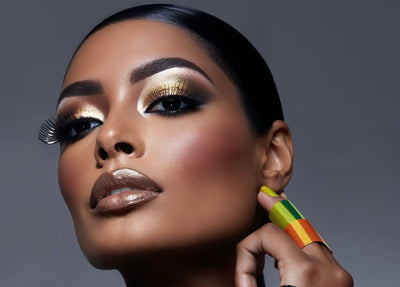
Why do we like the ombre effect better than a hard, blocky brow? Because it looks more natural. With a natural eyebrow you also tend to see fewer hairs at the beginning than in the middle or at the end, making the onset look lighter. This effect we want to maintain when we dye the eyebrows darker. They may be darker, but as natural as possible. Mrs.Highbrow has developed two techniques to achieve this effect.

Ombre Technique 1: Full fill in
With this technique you completely fill in the eyebrow with henna and after a few minutes you only remove the onset.
1. Fill in the entire eyebrow from the base to the tail. All skin and hair must be completely covered in henna. It can be applied so thickly that no skin is visible.
2. After 4 to 7 minutes (depending on the skin type of the client), remove an inch of the roots with a damp cotton swab.
3. If you push from the inside to the outside, with light pressure, you already see a nice transition from light to dark.
4. You can leave the rest of the henna another 10-15 minutes, until the color has worked well enough on the hair and skin, and has reached the right intensity.
Ombre Technique 2: From Outside to Inside
Work from the ends to the roots, and use less henna at the onset.
THIS IS HOW YOU WORK
1. Fill in the eyebrow with henna from the outside in. Start at the tail and work your way in.
1. Fill in the eyebrow with henna from the outside in. Start at the tail and work your way in.
2. The closer you get to the onset, the thinner the henna will be. The more shaded you work, the more beautiful a natural mark you will leave.
3. Leave on for about 15 minutes. Because you started at the ends of your brows and applied the henna like a shadow at the base, you can leave everything on for the same amount of time.
4. If you are still in doubt and want to know how the roots are doing, remove a little bit. Still too light? Apply another bit and leave it on longer. If it's already too dark, remove and lighten with Dyotics Tint Remover (€12.95).
WATCH FULL TUTORIAL
Pro Tip
- Make sure all lines are clean and tight.
- Make sure the onset of both brows are slightly slanted outwards for an open look. So like this: \ /
- Sometimes you'll see lines that are just arched the wrong way, giving you an angry look.
Tight Brushes
Brow henna is best applied with a special brush. The Dyotics Henna Brush (€11) is a small handy brush that allows you to work with great precision.

Or go for the slightly larger Angled Brush (€12,00) from Mrs.Highbrow.