Brow Mapping Deluxe

With our new brand identity finally revealed, it's time to launch our latest product, Brow Mapping Thread. The thread you love, but now with 3x more thread (30 meters instead of 10) in a luxury package! Read all about this must-have thread and get the brow mapping tips you didn't know you needed, straight from the pros.
- By Desi van Dijk
The Brow Mapping technique allows you create the perfect size and shape for every eyebrow. Unlike a template or an eyebrow ruler, Brow Mapping Thread allows you to specifically map out the brow for each and every client, taking into account the client's unique facial features and naturally create the shape that fits best.
Not Just 33, Now With 100 Ft!
Mrs.Highbrow's White Mapping Thread has received an upgrade, and not just any upgrade. First, the thread is now 100 feet long instead of just 33 - so although the packaging is not much bigger, you can do three times as many treatments with the White Mapping Thread. The shape of the packaging has been changed into a convenient tube and exudes luxury with our gorgeous new deep blue color. With these stunning looks, you'll love keeping the Brow Mapping Thread in the front on your table next to your treatment chair. Finally, the tab on the lid of the glass tube is tailor-made to allow you to grab the right length of thread, every time.

Step by Step
To enhance your client's face perfectly, it's best to keep the natural shape of her eyebrows. To do this, you'll need to use the most important parts of the eyebrow: the start, the arch and the tail. But don't forget to look at her nose and the shape of her face as well. Brush up your knowledge with this step-by-step guide on which lines you need. It's not complicated at all to learn & remember, as there are only five basic lines!

A. Start by placing the thread on the side of the nostril and drawing a straight line up. This way, you know exactly where the start of the brow lies.
B. The second line is the line that runs from the nostril to the tail of the brow, and it will help you determine the length of the brow. This line runs from the nostril, along the side of the eye, right to the tail.
C. The arch of the brow is determined by line C, which also starts at the nostril, running up over the center of the eye, to the arch of the eyebrow.
With just these three lines, you've created the basis for the perfect brow shape.
D. Line D is created by placing your thread on line A and line C until you reach the arch. This line is actually one of the most important lines to make sure your henna or regular eyebrow paint application will be as sleek as you desire.
E. Line E ensures the tail of the brow is nice and tight. This line crosses line B and line C drawn starting from the arch, down.
Putting two more lines at the top of the brow makes it even easier to shave and shade the brow. The first extra line is placed at the top of the brow from A to C, and the second extra line above the brow runs from C to E. These lines can be used for waxing or threading, as well as perfect guidelines for your brow henna or regular tint appication.
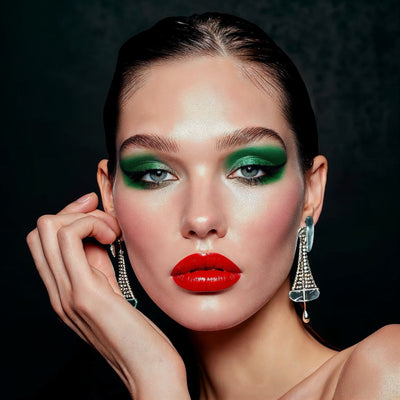
If you prefer to keep the brow a little more fluffy, it's best not to put the lines on the top and keep the bottom nice and sharp. The model in the photo has more fluffy brows, so in this case we'd leave out the top lines.
Sisters, Not Twins
The lines you set with Brow Mapping are very useful to a certain extent, but always keep in mind that no one face is symmetrical! Likewise, no one brow pair is. Remember that one eye may be a little higher or deeper, for example, or that one eye is a fraction larger. Two perfectly symmetrical brows might actually look strange. In such cases, you have to raise one eyebrow or make it longer to get the best result. A good brow specialist has a keen eye for these kinds of details. And practice, practice, practice is key.
Price Mrs.Highbrow Brow Mapping Thread, 99 feet for €15.