Lifting Balm is a true must-have for every lash artist, and because it's so popular, we get many questions about it every week. Francien Vermeer, former Head of Training at Mrs.Highbrow and now owner of First Expression, is a big fan and is ready to share her ultimate tips to use it for even better lash lifts!
By Desi van Dijk
Lifting Balm and Adhesive
Mrs.Highbrow Lifting Balm, also called Glue Balm, is the latest development in the field of Lash Lifting. This balm has a unique formula that doesn't dry completely, allowing you to easily make adjustments as needed. For somewhat thinner lashes, it's a perfect alternative to Adhesive, but Francien shares that she gets really good results when she uses Lifting Balm and Adhesive together. Another bonus about the Lifting Balm? It's enriched with vitamins and oils.
Francien often uses both Lifting Balm and Adhesive for a lash lift, so she broke it down for us:
First, attach the lashes to the shields with the Lash Elevation Brush or a Lifting Tool.
- Using an applicator, apply the Lifting Balm to the lashes.
- When applying, it's easiest to work in sections, since you work in half-inch sections when you using the Lifting Brush. Be sure that all the hairs are together and attached well on the shields.
Francien: "Next, I apply a little Adhesive to the ends of the lashes - the last 2 mm only - this way the lashes stay attached even better and come loose!"

"For Step 2, it's important to apply this lotion a bit wider than Step 1."
Once the lashes are perfectly attached to the shields, apply Lash Elevation Lifting Cream Step 1 and let the cream develop. Francien says, "I remove Step 1 with a dry cotton swab. The lashes stay attached to the shield just fine through the Lifting Balm and Adhesive if you observe a few things." Namely:
- You choose the right size shield.
- You apply enough Lifting Balm (be generous!).
- For stiff, long lashes, you also apply Adhesive 2 mm from the tips of the lashes.
After Step 1 is properly removed, apply Lash Elevation Setting Cream Step 2. "For Step 2, it is important that you apply this lotion a little wider than Step 1 - that way you've covered everything well that may have leaked into the hair in Step 1," Francien said.
"After step 2, you can choose to dye the lashes. After dyeing - or if you choose not to dye the lashes - you can apply Keratin Complex to strengthen the lashes even further.

5 Ultimate Lifting Balm Tips
Here are Francien's tips.
- It is important to use it generously! Don't get stingy with the Lifting Balm.
- Work in sections of 0.5 cm.
- Use a Lifting Tool or the Lash Elevation Brush to separate the lashes.
- Once the lashes are perfectly adhered to the shields, apply an additional coat of Lifting Balm and let it dry thoroughly. This will ensure that the lashes stay on the shield perfectly.
- Use Adhesive on the very ends of the lashes to attach the lashes to the shields extra well and let this dry thoroughly. This step is important because the Adhesive really makes sure that the ends are firmly attached and so the lashes stay in place throughout the treatment.
If lashes are truly very short or just very long and stiff, using just Adhesive on the whole lash works better, as Adhesive is just a little stronger than Lifting Balm.
Mrs.Highbrow Lifting Balm € 22,50.

Lash Elevation Brush: The Benefits
We've brought it up before: our fav tool - the Lash Elevation Brush. What's so special about it? To start, it's especially designed for the Lash Lift!
- The brush is made of soft bristles that are very close together. This way, it's nice and fast to work with and you'll have the lashes attached one by one in no time.
- This brush is so effective because it can separate each lash and easily stick them to the shield.
- It is a softer alternative to a plastic tool, for example.
- After each treatment, you can clean the brush with water or with a special cleaner for your brushes.
- With the Lash Elevation Brush you can perform hundreds of treatments, so per treatment it costs almost nothing. Win-win for you and the environment!
A treatment with the Lash Elevation Brush is no different than with the classic Lash Lift tool.
- Place the shield on the eyelid tightly against the lash line.
- With the Lash Elevation Brush, attach all lashes to the shield.
Lash Elevation Brush € 21,95.

Besides the right Adhesive, Balm and brush, Francien emphasizes that it is also very important to use the right shields in the right size.
Francien: "There are different types of shields on the market for different types of lashes. Mrs.Highbrow Lash Lift Shields Soft & Easy are my favorite!

Keratin Complex During A Lash Lift
Keratin Complex is an additional step you can offer during the Lash Lift treatment. It nourishes the hairs (both eyelashes and eyebrow hairs) and makes them smooth and shiny. For the Lash Lift, use Keratin Complex after step 2. And if you dye your lashes, use Keratin Complex after dyeing and apply with a spoolie and leave it on - there's no need to remove it! After that, you can still apply Step 3 Conditioning Oil.
Aftercare After Lash Lift Treatment
We must add that it's important that your client be very careful for the first 24 hours (preferably 48 hours) after her treatment. These first 24 hours are crucial because the lotions are still being processed the first day, and if she isn't careful the first day, the Lash Lift can lose its gorgeous lift more quickly.
Tips to pass along to the client:
- Avoid showering, steaming, saunas and heat;
- Do not use makeup on or around the eyes for the first 24 hours;
- Avoid makeup remover around the eyes and be careful with oil-based products;
- Do not rub eyes and take extra care around the eye area;
- Do not brush the lashes for the first 24 hours - even if they are still slightly stuck together!
In addition, it's better to use regular mascara instead of waterproof, since waterproof mascara should be removed with an oil-based product which can cause the lash elevator to lose its lift faster.
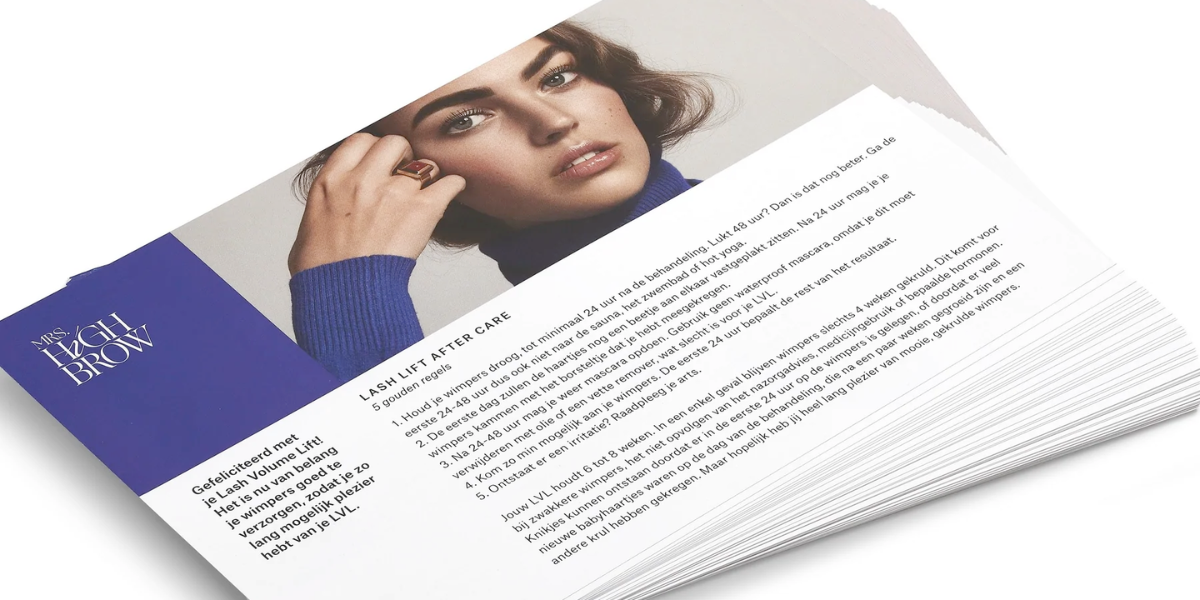
It's always helpful to give a Lash Lift Aftercare Flyer to your client and you can order them through our website per 50 pieces for only € 4.95. So that's only 10 cents per flyer!