


1. Clean Brows
2. Prepare The Brow Henna
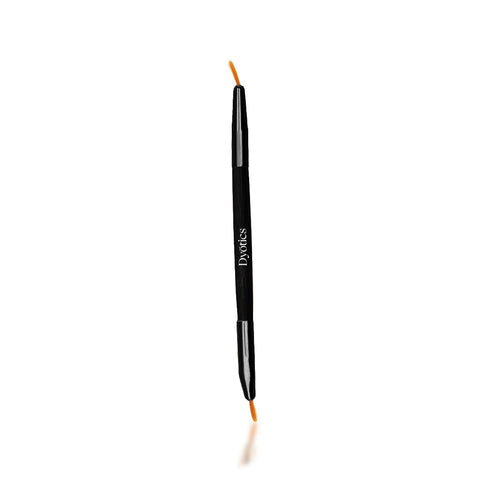
3. The Best Tools
4. Shape First
5. An Organized Workplace
It's no secret that you can work much better when your workspace is tidy and you've got everything you need at hand. It's time consuming to get up and refill your cotton pads all the time or track down your favorite brush; your time is better spent perfecting the pair of brows you're working on. The Dyotics Workstation is a no-brainer, as it keeps all your things in one place and looks nice and polished to boot!
6. Use Brow Contour Paste
Contour Paste (€10) creates a barrier between the eyebrow and the skin, prevents the brow henna from running, and keeps the lines taut. You can apply the paste freehand with our special Highlighting / Contour brush (€12,39), just moisten your brush and dab it into the jar! Start by drawing the contours of the eyebrows in one tight line, and depending on your client's preference, you can make the edge a little bit thicker. Do you find creating straight lines difficult? Try first stamping straight lines with Brow Mapping String (€ 13,95), which is a thin thread that is already pre-colored with white ink and leaves a white line when you press it on the skin. Whatever method you choose, proceed with applying your brow henna once you've outlined the brows!
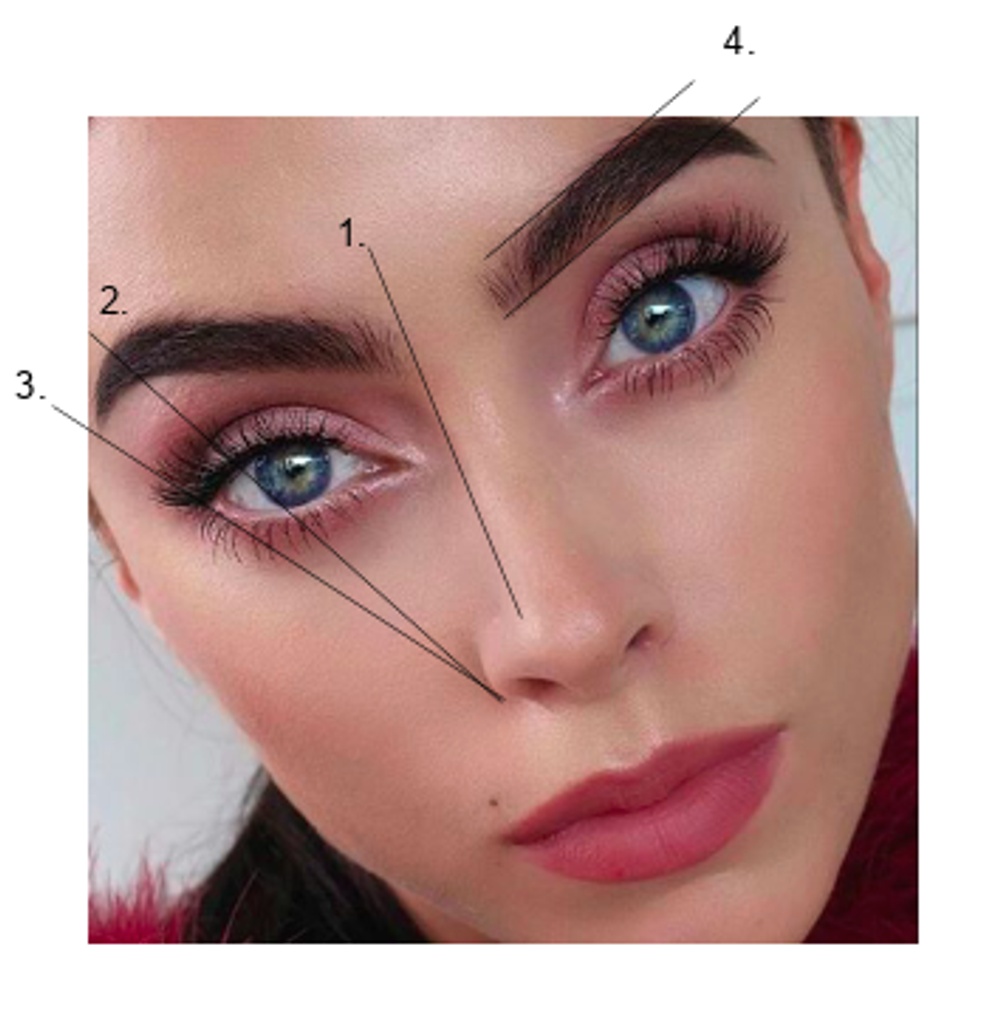
7. The Right Ratio
- Eyebrows should not be too far apart! If the start of the eyebrows are too far apart, it will not suit your client's facial expression.
- The highest point of the eyebrow, the arch should be placed as far to the side as possible! Assume a 70-30 ratio; in other words, the longest part of the eyebrow is about 70%, the tail is 30%.
- The tail is not too long, which may cause a droopy effect.
- Use straight lines!
8. Ombré Effect
Ombré is a French word meaning "shadow'. In the world of eyebrows, the ombré effect means applying the henna paint from light to dark, or creating a beautiful color build-up from almost nothing to increasingly darker. Achieve this look by leaving the henna on for at least 10 minutes, but 20 minutes is even better. For the best effect, remove the henna from the roots after 5 to 10 minutes with a cotton pad damp with tap water. As the hairs at the beginning of the brow may be more sparse for many clients, this area could become lighter faster. If this is the case, you can stick with the normal application time.
Read more about the best ombré techniques here.

9. Exude Confidence!
Last but not least, clients don't want to sit in the chair of an insecure specialist, so perform your treatments with confidence and proudly show the client the results of your efforts! If you don't believe that you have just made something beautiful, why should your client? Your confidence and enthusiasm will radiate to your clients.
Are you still a bit unsure about your skills? Do you need some additional training? Order the Online Course Henna Brows for only € 209, including Dyotics Brow Henna Master Kit worth € 179.
