From Treatment Enhancer to adding Keratin Complex to your Brow Lamination routine — these expert tips will take your results to the next level and help you work faster and more effectively.
1. A Powerful Boost with Treatment Enhancer.
Mrs.Highbrow Treatment Enhancer is a blend of natural ingredients, including salt, that gives your treatments a serious upgrade. It's a deep cleanser that helps other products, like lamination lotions, adhere better to the brows — and it’s also perfect prep before Henna Brows or a Lash Lift.
Using Treatment Enhancer ensures all oils and residue are thoroughly removed from the skin and brow hairs. While a regular makeup remover might seem like enough, the Treatment Enhancer removes every last trace — even what’s left behind by your remover or Skin Prep Lotion. And that’s crucial before a Brow Lamination treatment.

Pro tip:
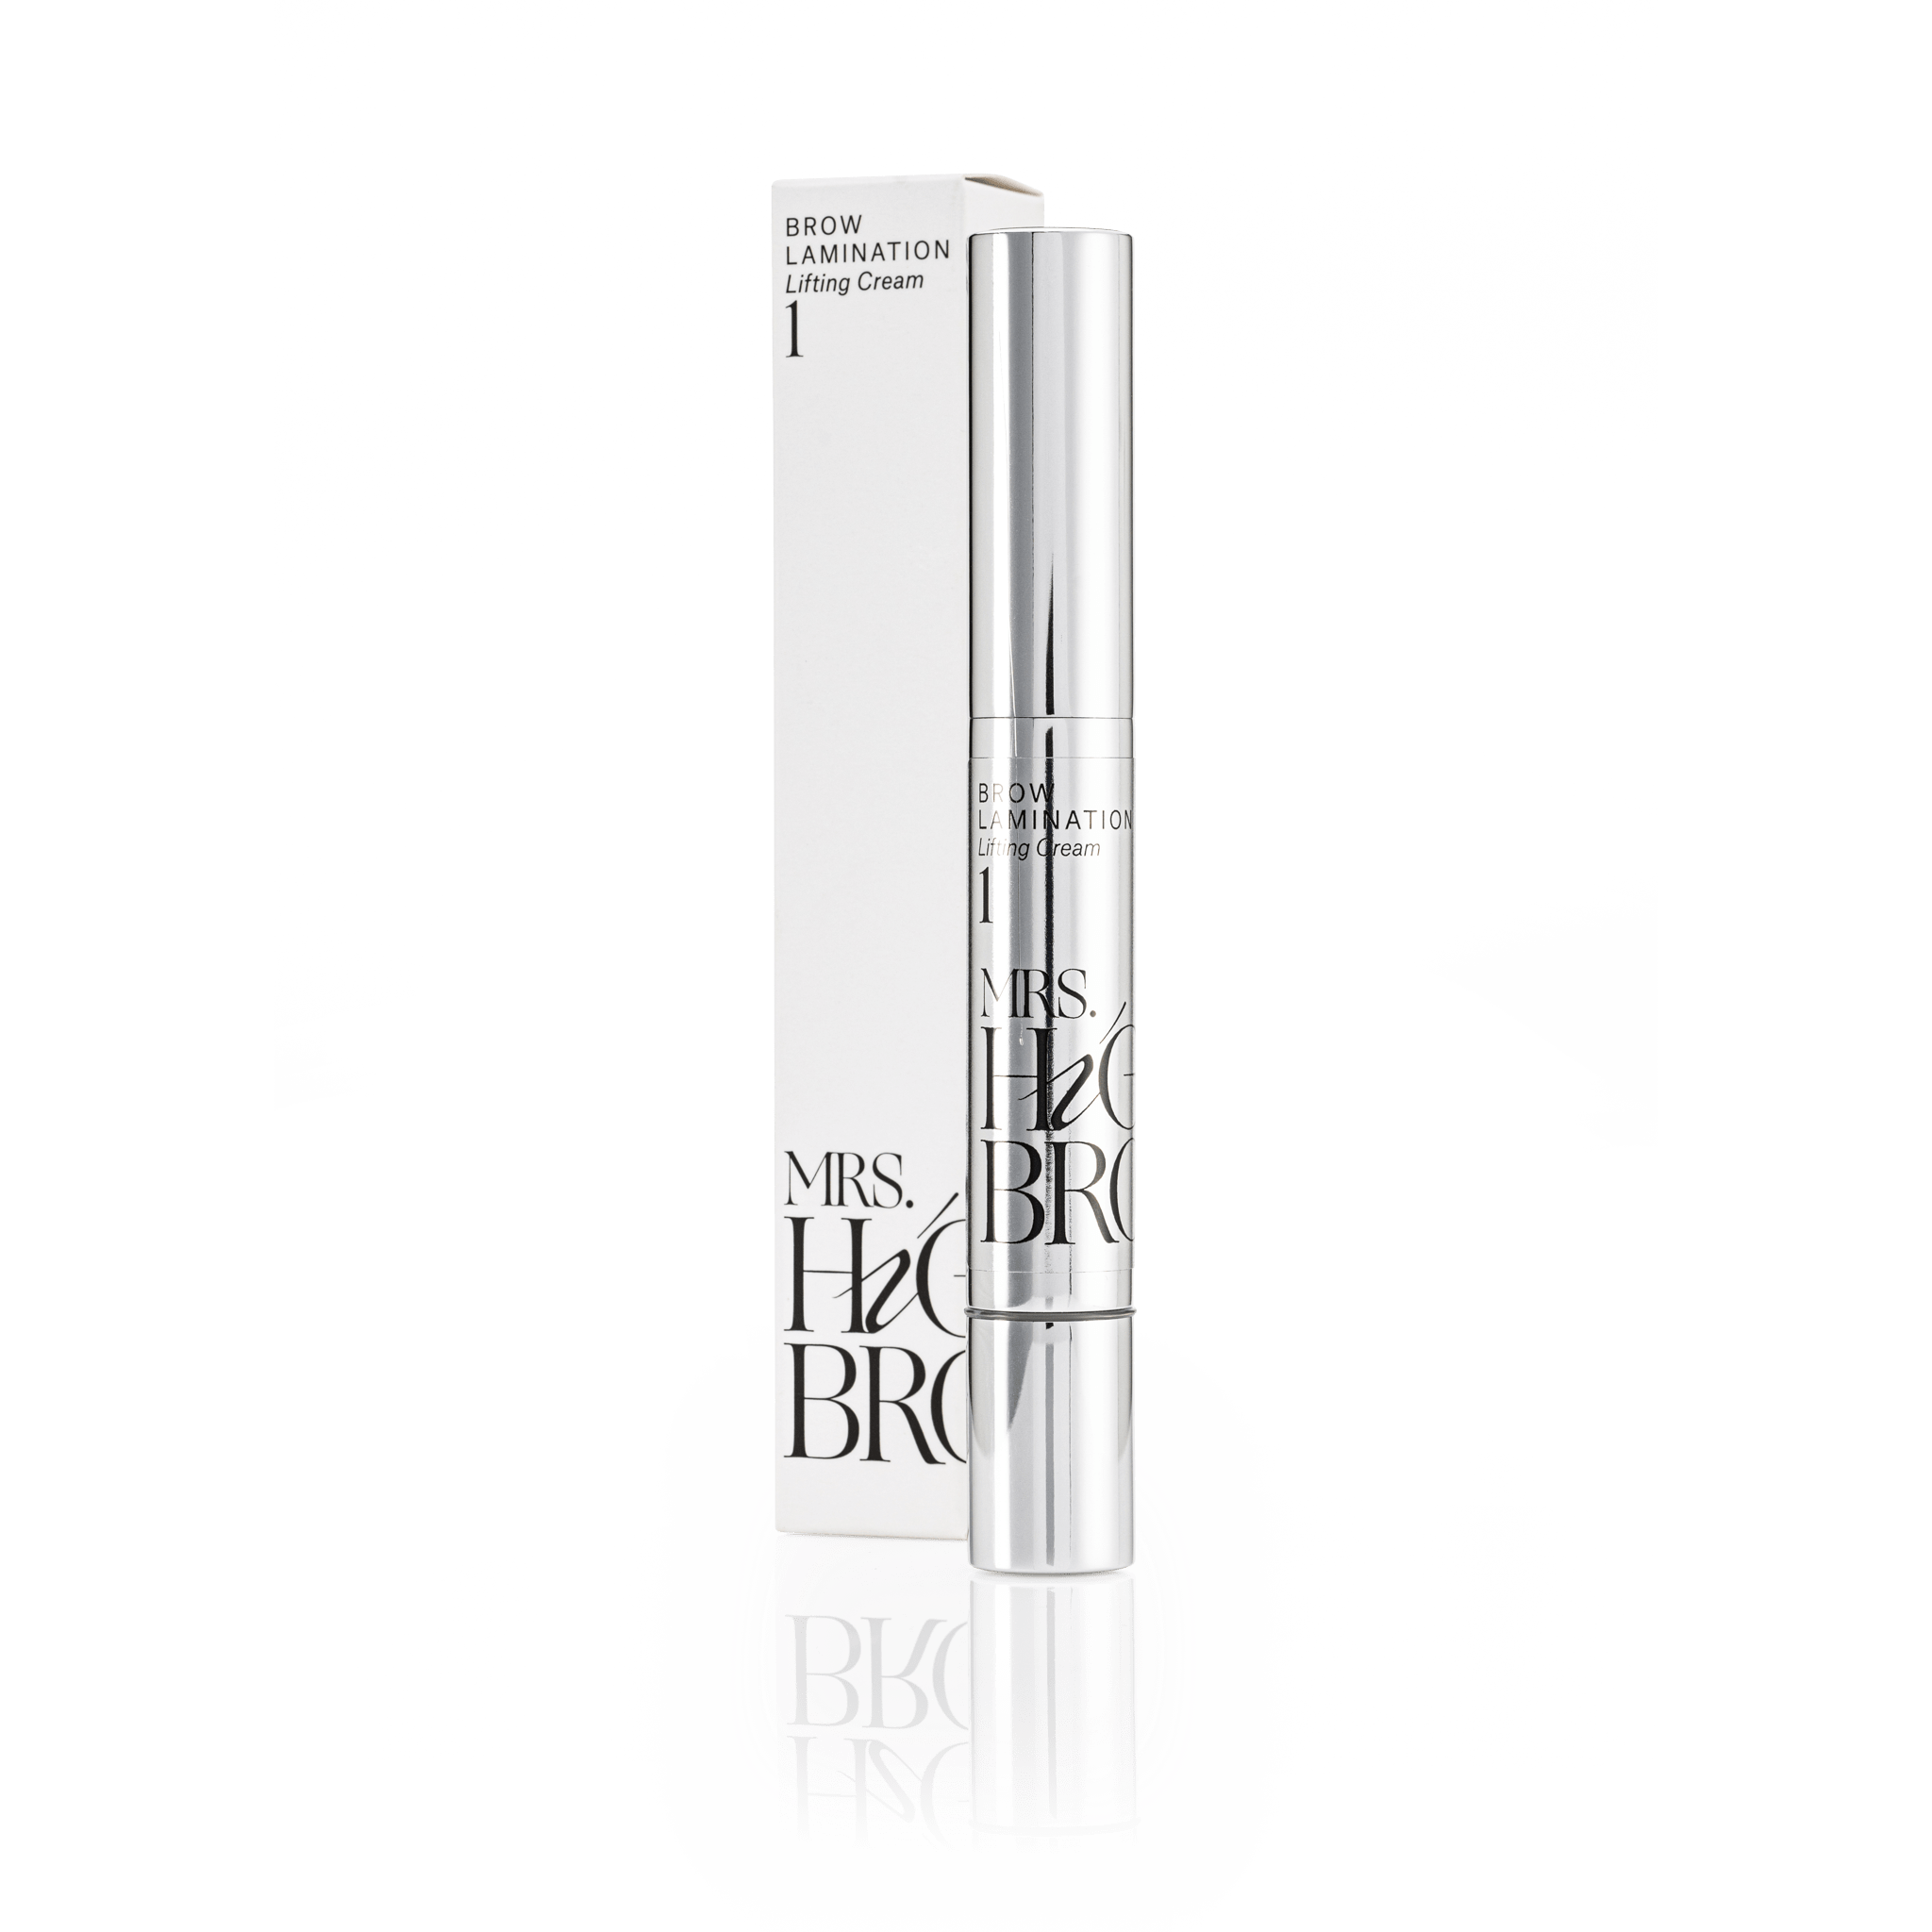
Use Treatment Enhancer as the final cleansing step, after Skin Prep Lotion and right before step 1 of the lamination.
2. Keratin Complex to Nourish & Protect.
Mrs.Highbrow Keratin Complex was specially developed to nourish and protect both brows and lashes.
It’s the perfect addition to your Brow Lamination service. With Keratin Complex, brow hairs become stronger, healthier, and more resilient — exactly what every client wants.
How to use it:
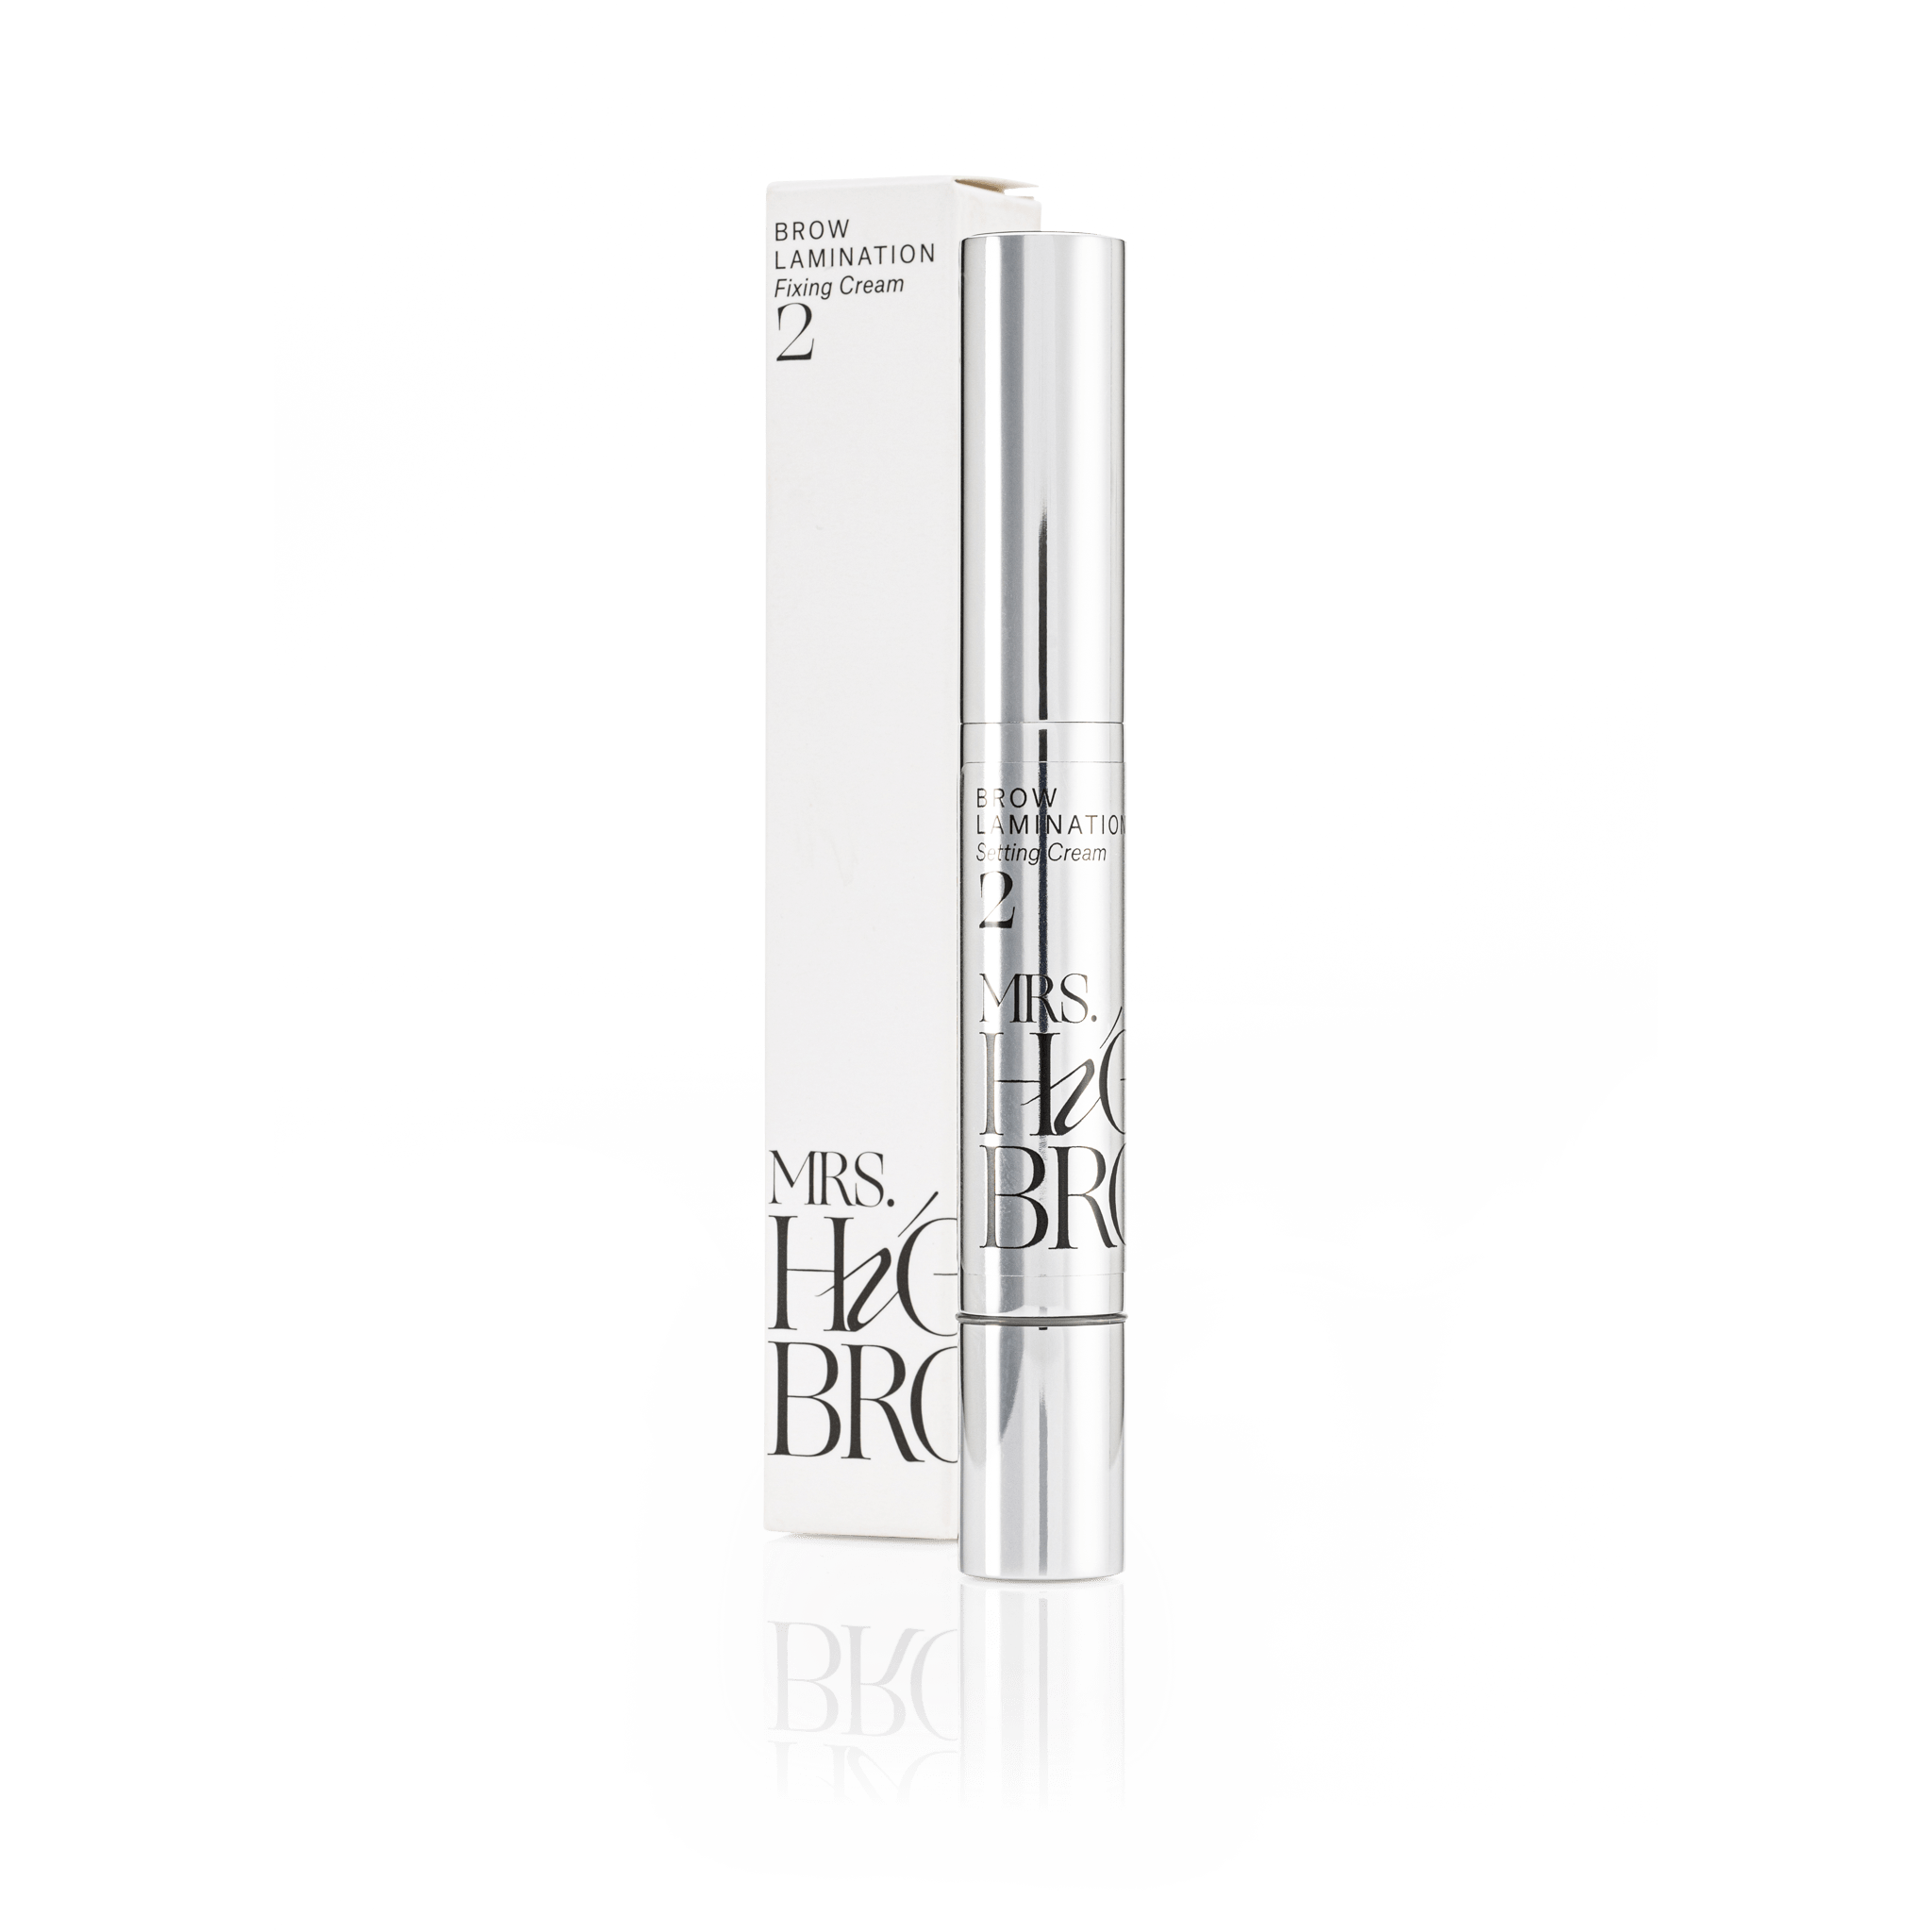
Apply Keratin Complex with a spoolie after step 2.
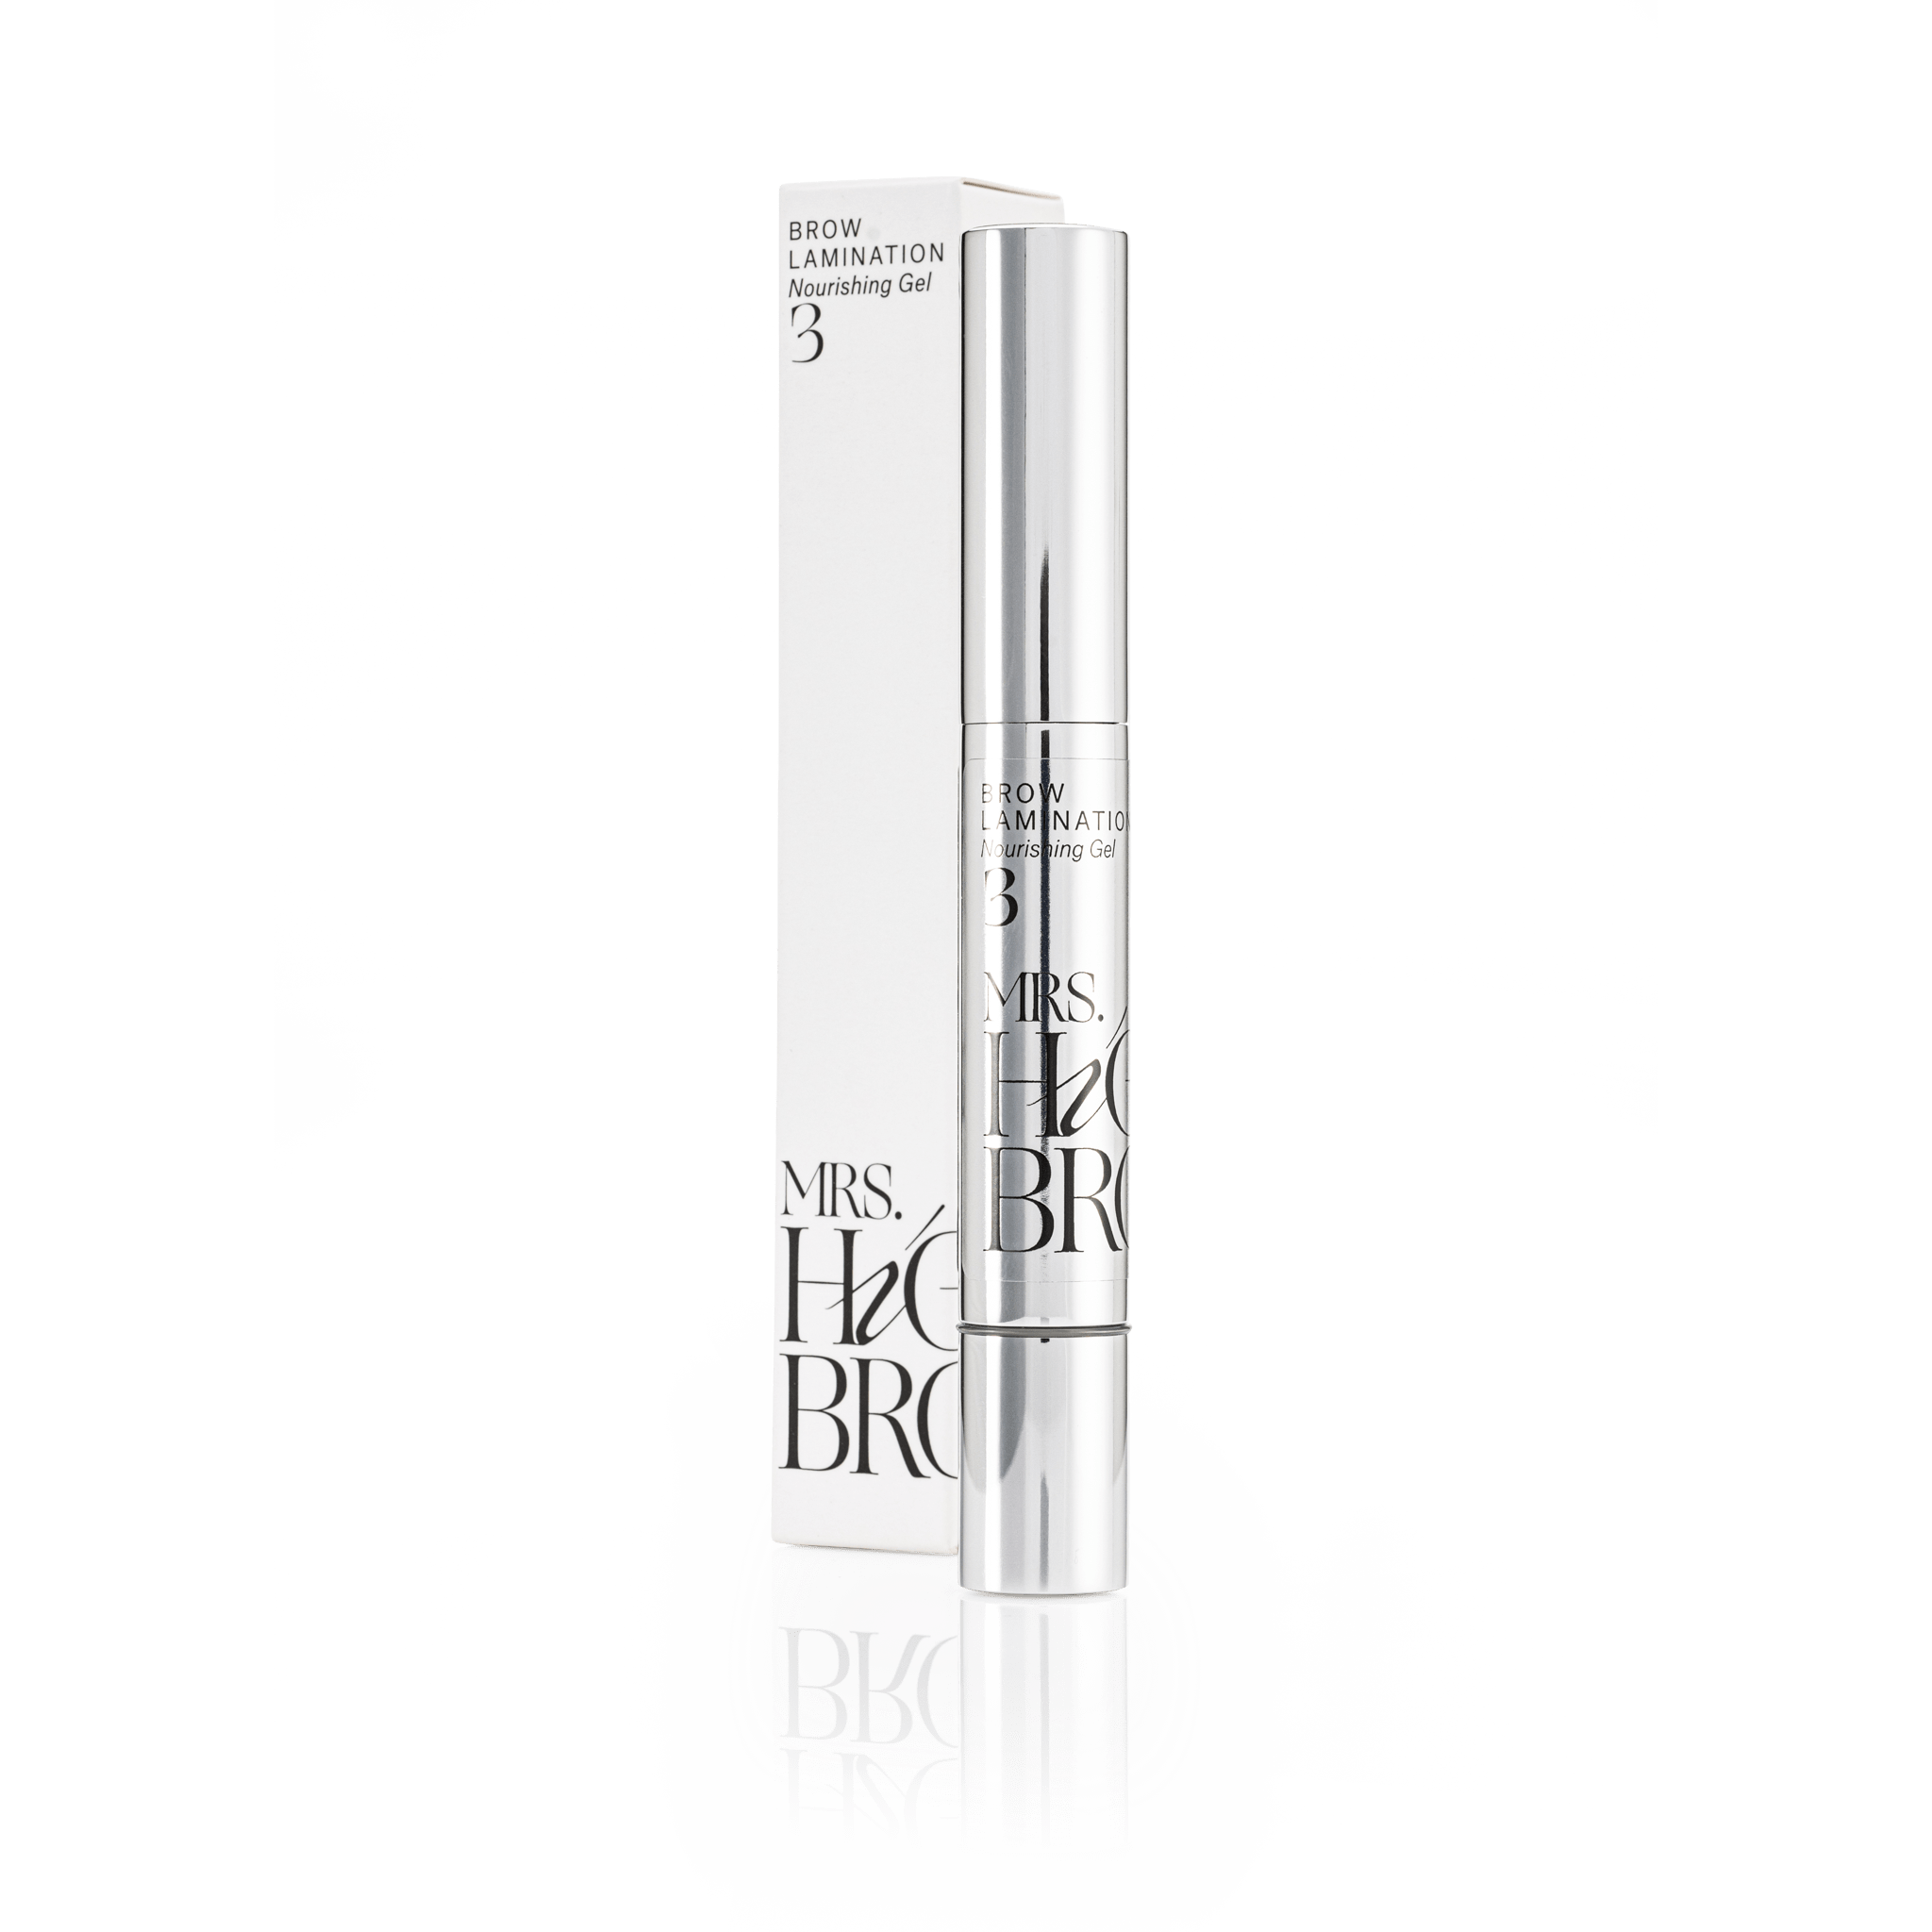
If you’re tinting brows as part of the lamination process, apply it after tinting and before step 3 (Nourishing Gel).
But did you know you can also use it before the lamination process to help prep and shape the hairs? Brush the brows upward with Keratin Complex to hold them in place — like a gentle adhesive, without the stiffness.

3. The Perfect Tool for Clean Results.
Over time, you discover little tools that make your work quicker and easier. Our favorite? An interdental brush — yes, the kind you find at the drugstore!
After step 1, use it to smooth the brow hairs tightly against the skin. It also helps remove any leftover product with precision after the processing time.
Simple, cheap, and super effective.
4. A Protective Layer with Shea Butter.
Some clients with sensitive skin may experience irritation after a Brow Lamination. The solution? A balm made with shea butter.
You can use a professional brow or lash lift balm — or even pure organic shea butter, like the one from Natural Heroes.
How to use it:
-
Apply a small amount to the brows and surrounding skin.
-
Let it sit for a few minutes, then gently remove it.
-
Now start step 1 of your lamination treatment.
You can also apply balm between step 1 and 2 — just make sure to remove it before moving on.
The buttery film creates a barrier that prevents the lotions from penetrating too deeply into the skin, reducing the chance of irritation.

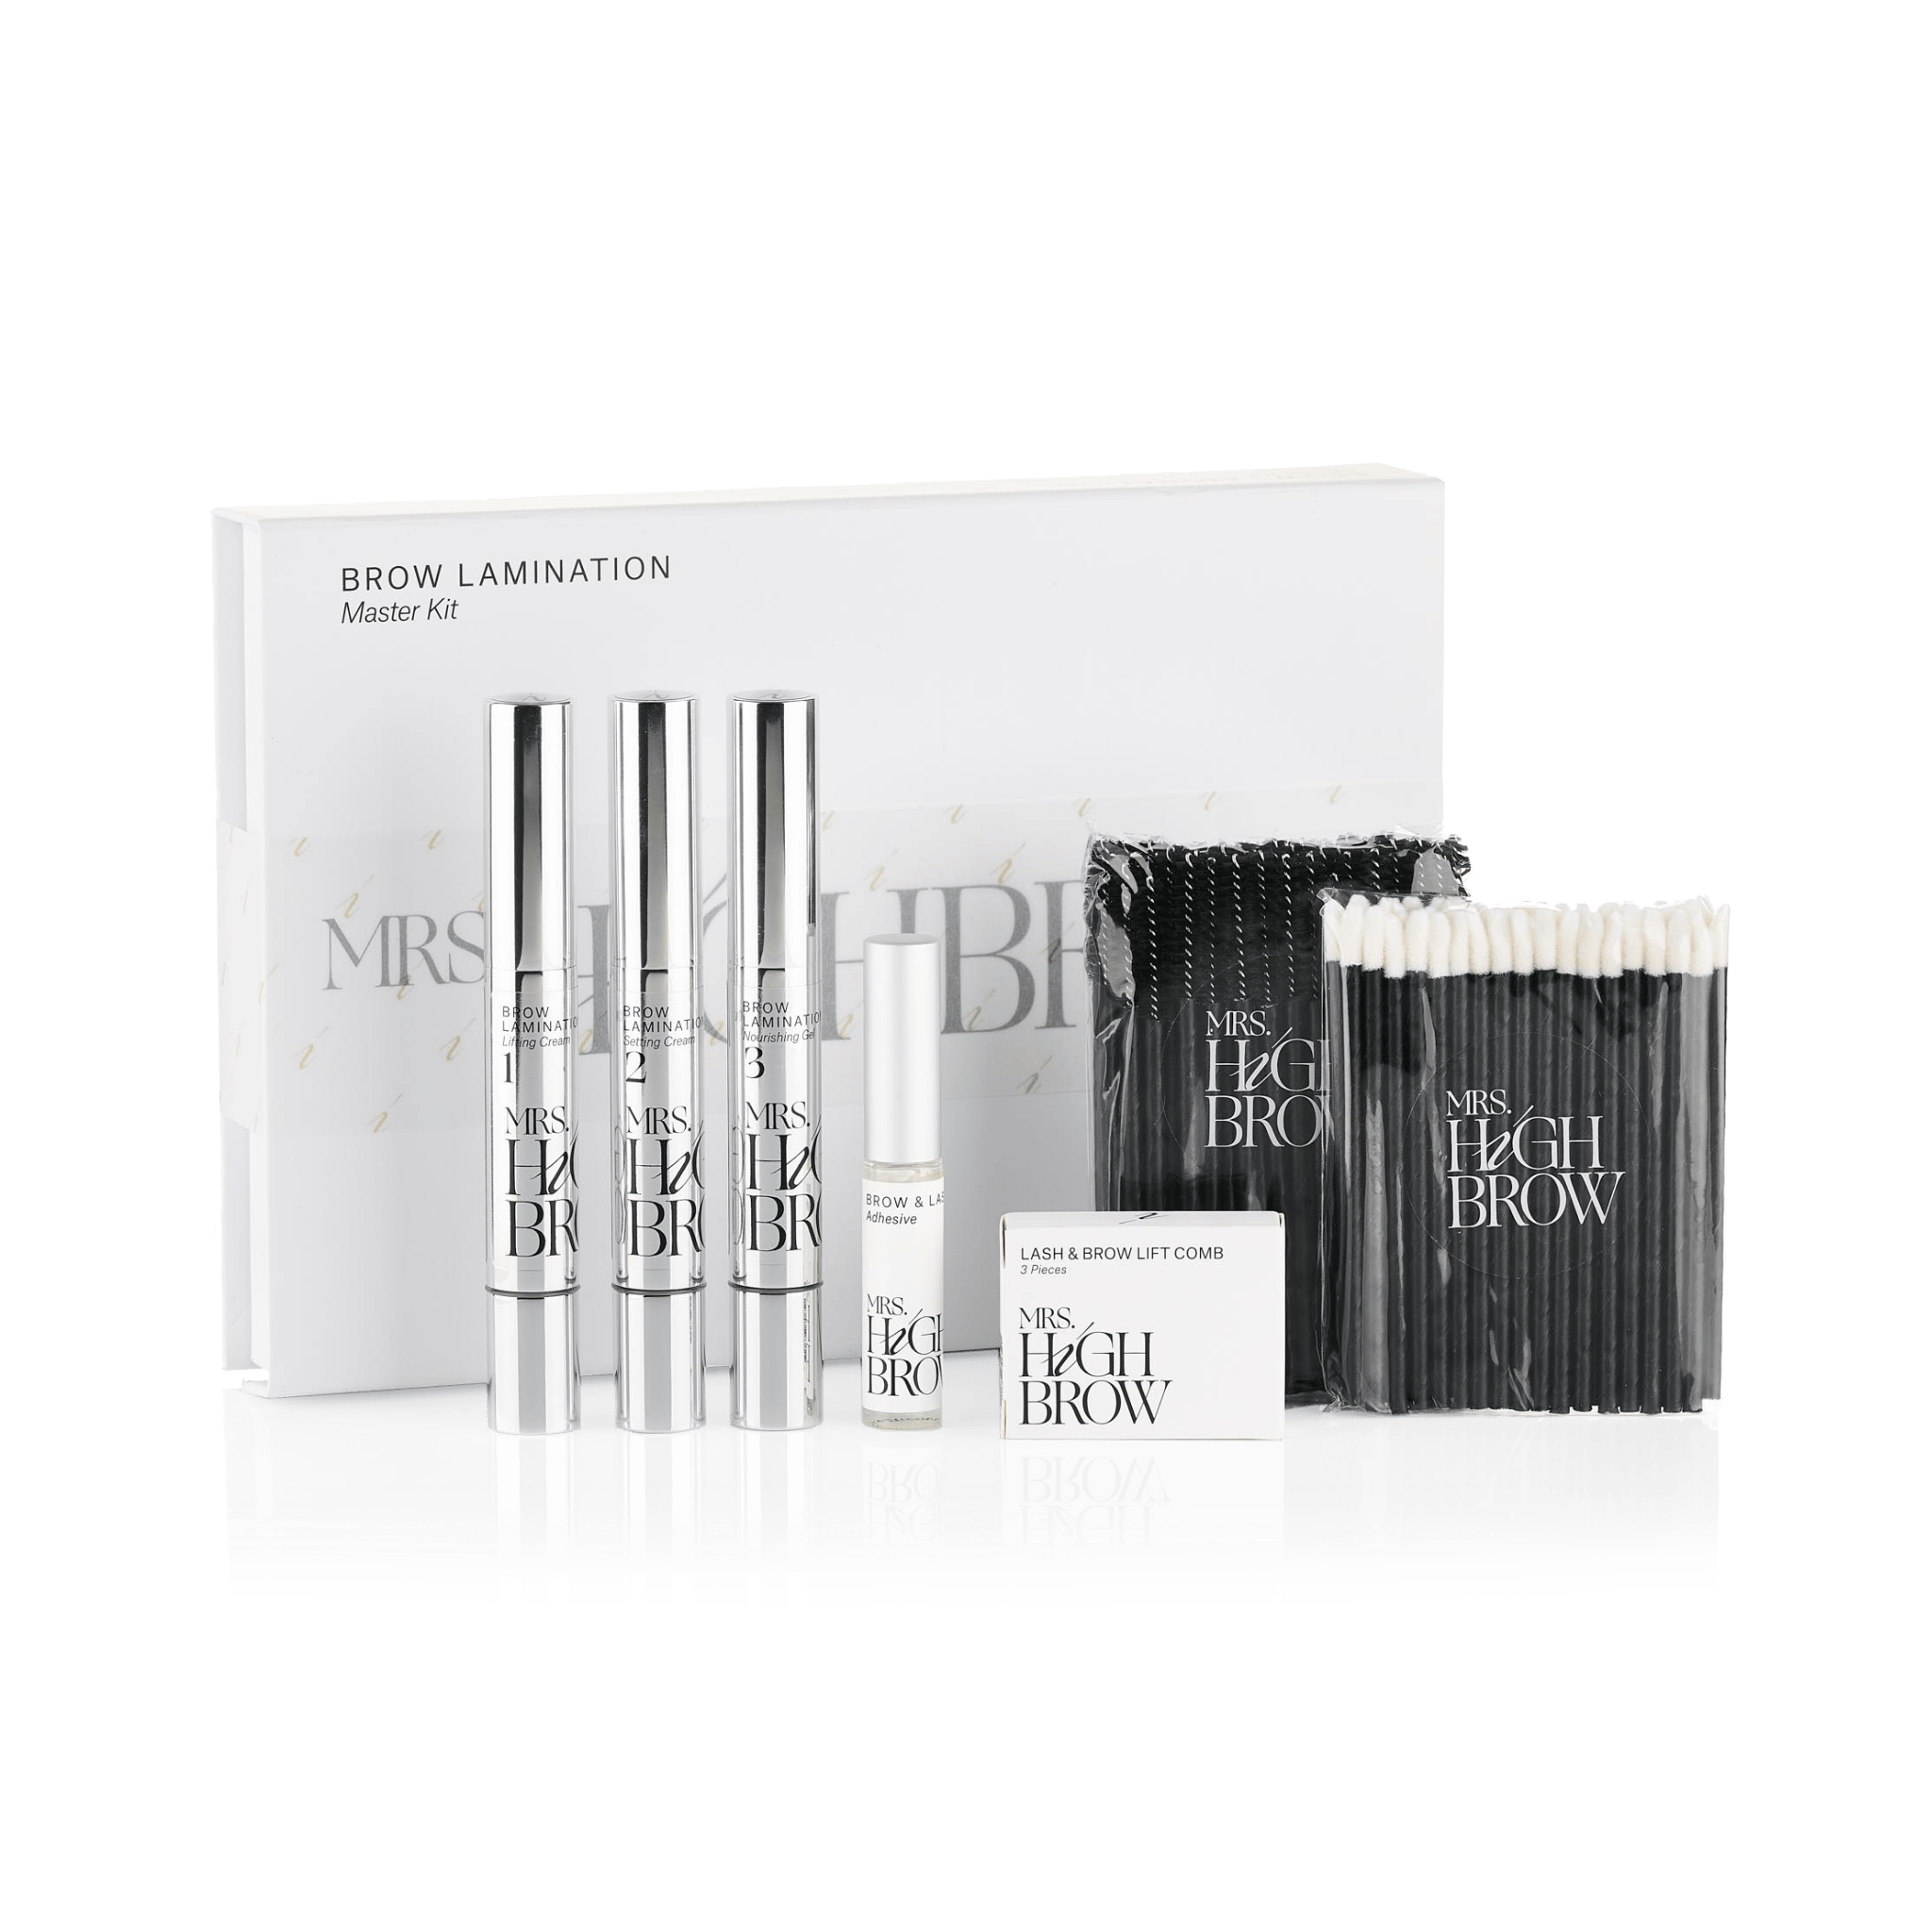
5. Luxe Display, Maximum Efficiency.
The Mrs.Highbrow Brow Lamination Display keeps all your essentials organized and within easy reach — so you can focus on what you love: creating perfect brows.
It also shows clients that you offer Brow Lamination as a professional service. The display is custom-designed for Mrs.Highbrow and handcrafted in the Netherlands.
Pro tip:
Order the display with products and enjoy a generous discount.
6. Brushed-Up Brows for Weeks.
Brow Lamination can keep brows lifted for up to 6 weeks — but that doesn’t mean it stays flawless on its own.
Client tip:
Send your clients home with a spoolie and aftercare instructions. After sleeping, their brows may need a little morning boost to look their best.

After a few weeks, the laminated look can fade slightly. That’s when your clients can refresh the effect with Mrs.Highbrow Brow Fix or Brow Gel.
These two products give brows that extra push upward — just like fresh lamination.
Important: Make sure clients don’t use any styling products during the first 24 hours after their treatment.